5 Ways To Preserve Summer
By Alex C
Senior Food Writer at Pro Home Cooks
Summer is when produce is at its peak here in New York. Fruits like tomatoes, peaches, and berries and veggies like corn, green beans, cucumbers, asparagus, and eggplant are never going to taste as good as they do right now. What’s even better is that they are also the cheapest they will ever be as well! Whether you are buying summer produce in bulk or growing your own, it's best to stock up on your favorite fruits and veggies while you can and preserve them so that they last you until next summer. Preserving food is like having your favorite fruits and vegetables at its peak flavor all year round. With its extended shelf life, preserved foods actually save you money since you won't have to buy out of season produce and since you will have a well stocked pantry it’ll be like having a grocery store in your own home. With preserving food at its peak, you are able to maintain its delicious flavor as well as its nutrients. There are many ways to preserve food but here are my top five favorites:

1.) Freezing
Freezing food is such a common act done in the kitchen that some forget it is a preservation technique. When you freeze food, you are placing it in a very cold environment, usually a freezer, to keep it fresh for a long period of time. The cold temperature prevents bacteria from multiplying and helps maintain the quality, taste, and nutrients of the food. It can be stored and then thawed when you're ready to use them. However, because the water molecules expand once frozen and shrink back to their normal size once thawed, this can sometimes cause a textural change in certain foods. Vacuum sealed sealed items will last longer but you can also just store in an air tight container.
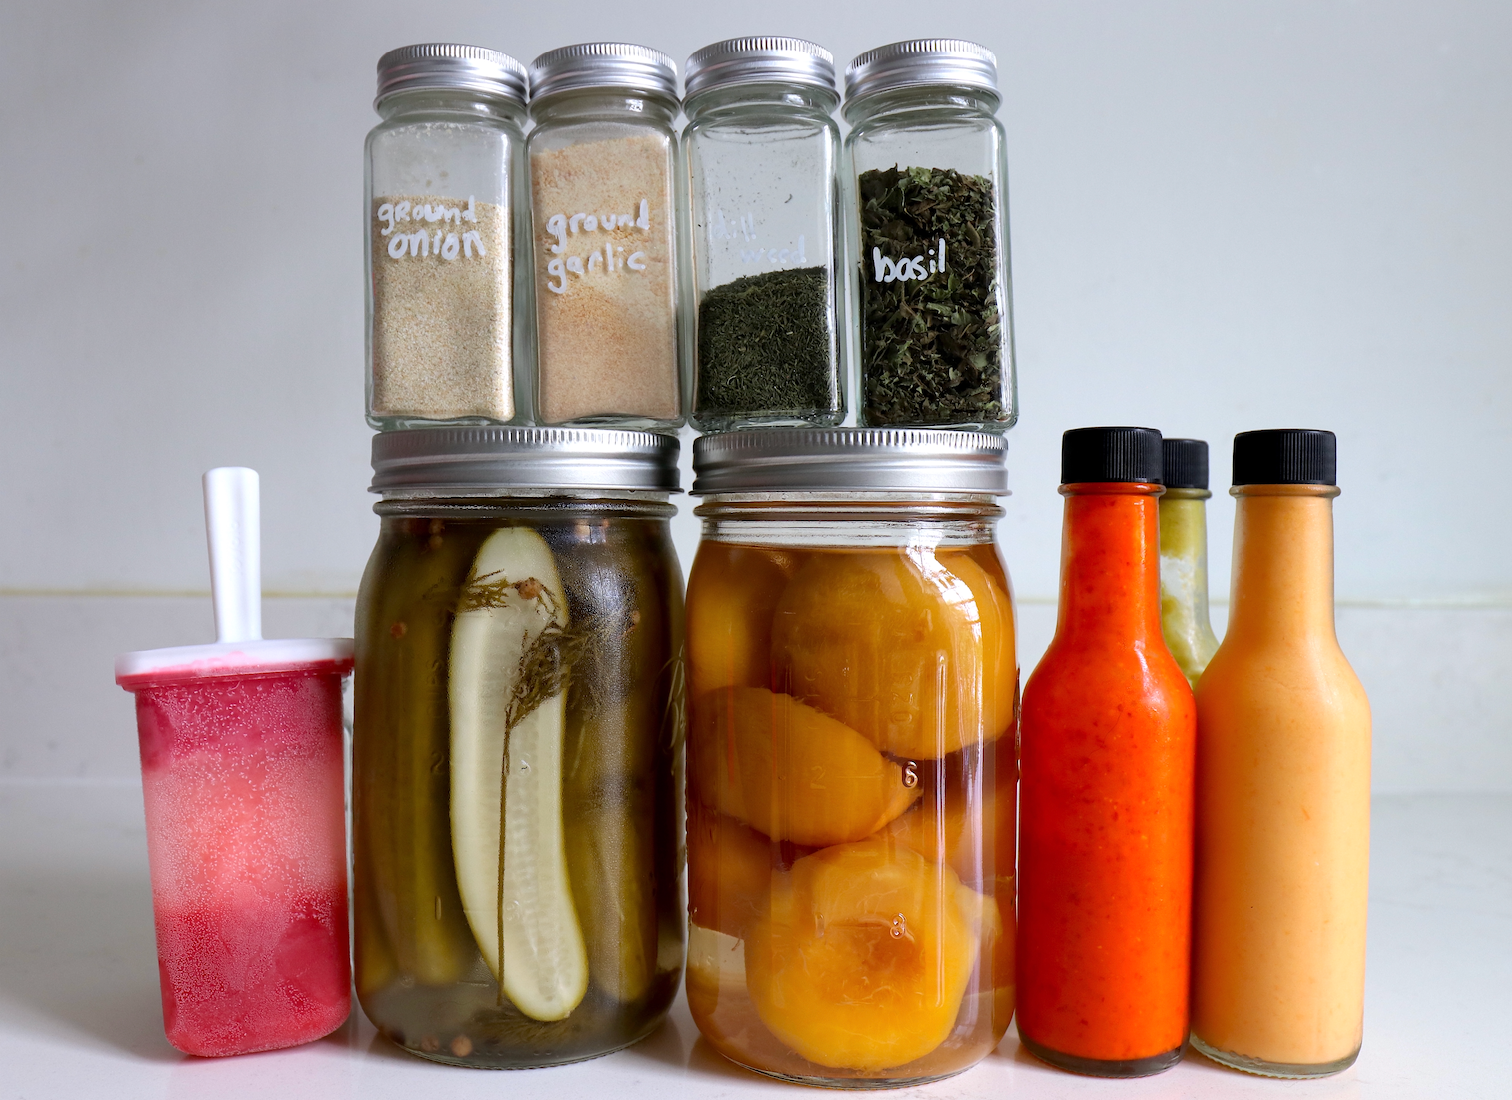
Freezing meats and seafood to defrost them at a later time are my favorite item to freeze. For veggies, I will throw them into a smoothie, stew, or turn them into a dip. For fruits because of their delicate nature I rarely eat thawed fruit. Instead, I freeze them and use them to make sorbets, popsicles, or smoothies. This tri layered fruit pop, inspired by the trader joes one, has been one of my favorite this summer
- Canning

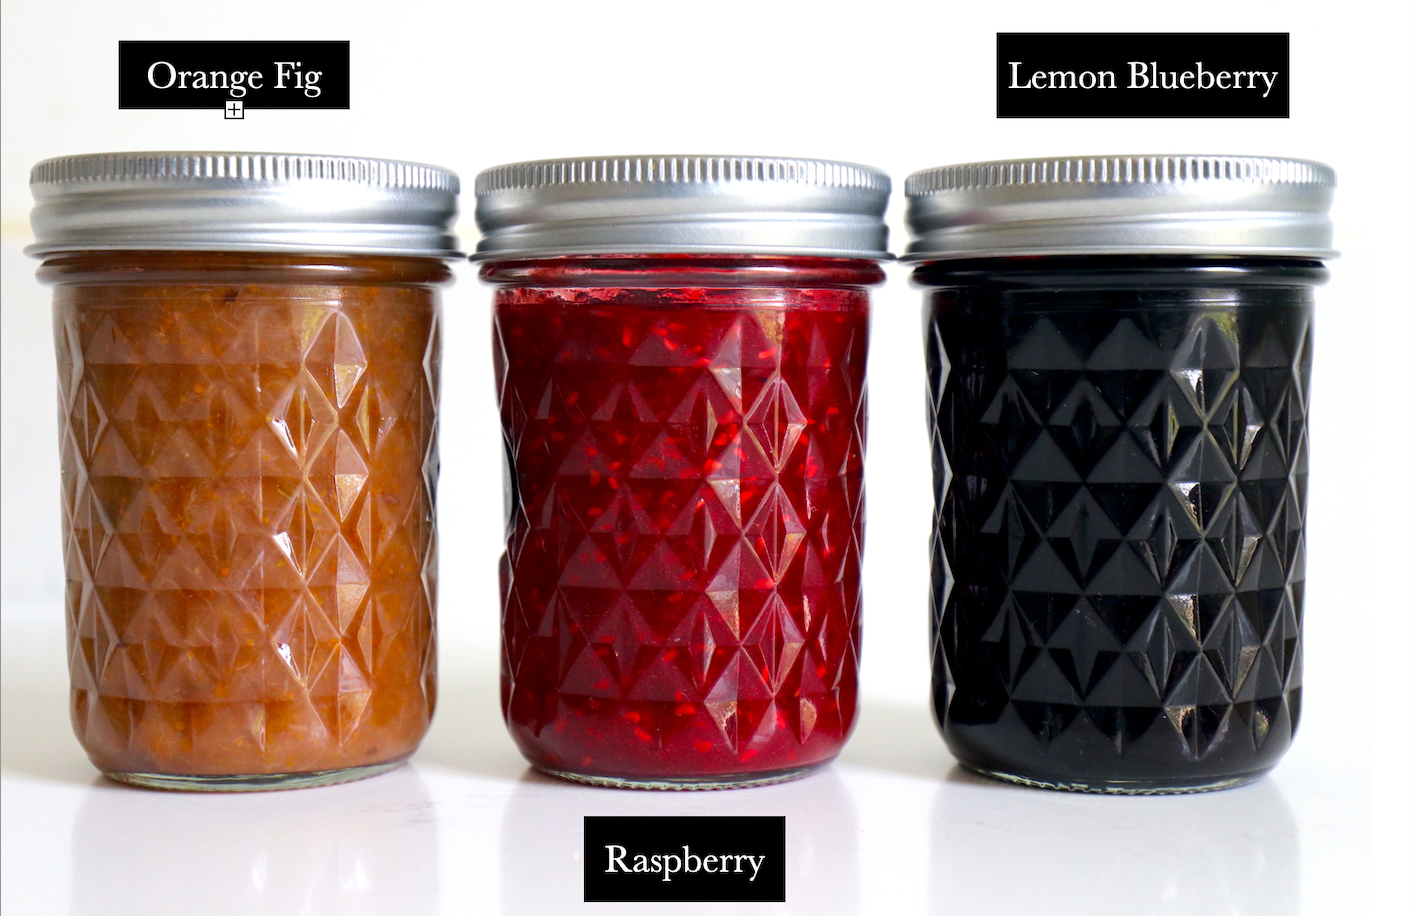
Canning is a method of preserving food by sealing it in airtight containers (usually glass jars) and subjecting it to heat to destroy microorganisms that can cause spoilage. The primary goal of canning is to create a sterile environment inside the sealed container, preventing the growth of bacteria, yeasts, and molds that can lead to food spoilage and potential health risks. Canning allows you to preserve the flavors and nutrients of seasonal foods, extending their shelf life for enjoyment throughout the year. There are two main methods of canning: water bath canning and pressure canning. The method you choose depends on the type of food you're preserving and its acidity level.

Pressure canning is suitable for preserving low-acid foods, which includes a variety of vegetables, meats, poultry, seafood, and some mixtures. These foods have a pH level above 4.6 and require higher temperatures than water bath canning to destroy harmful bacteria. Water bath canning is perfect for food that has a higher pH level like peaches and tomatoes. Click here if you want to read more about how to can peaches and click here if you want to learn how to can tomatoes!
- Pickling

Pickling is a food preservation technique that involves preserving food in a solution of salt, vinegar, and water, often with the addition of spices, herbs, and other seasoning. The process of pickling enhances the flavor and texture while also extending the shelf life of the food by inhibiting the growth of harmful bacteria that can cause it to spoil.
Pickling is the quickest way to achieve an acidic flavor profile while maintaining the food’s texture all while being done in a short period of time. My favorite items to pickle are jalapeño, onions, and cucumbers!
- Fermenting

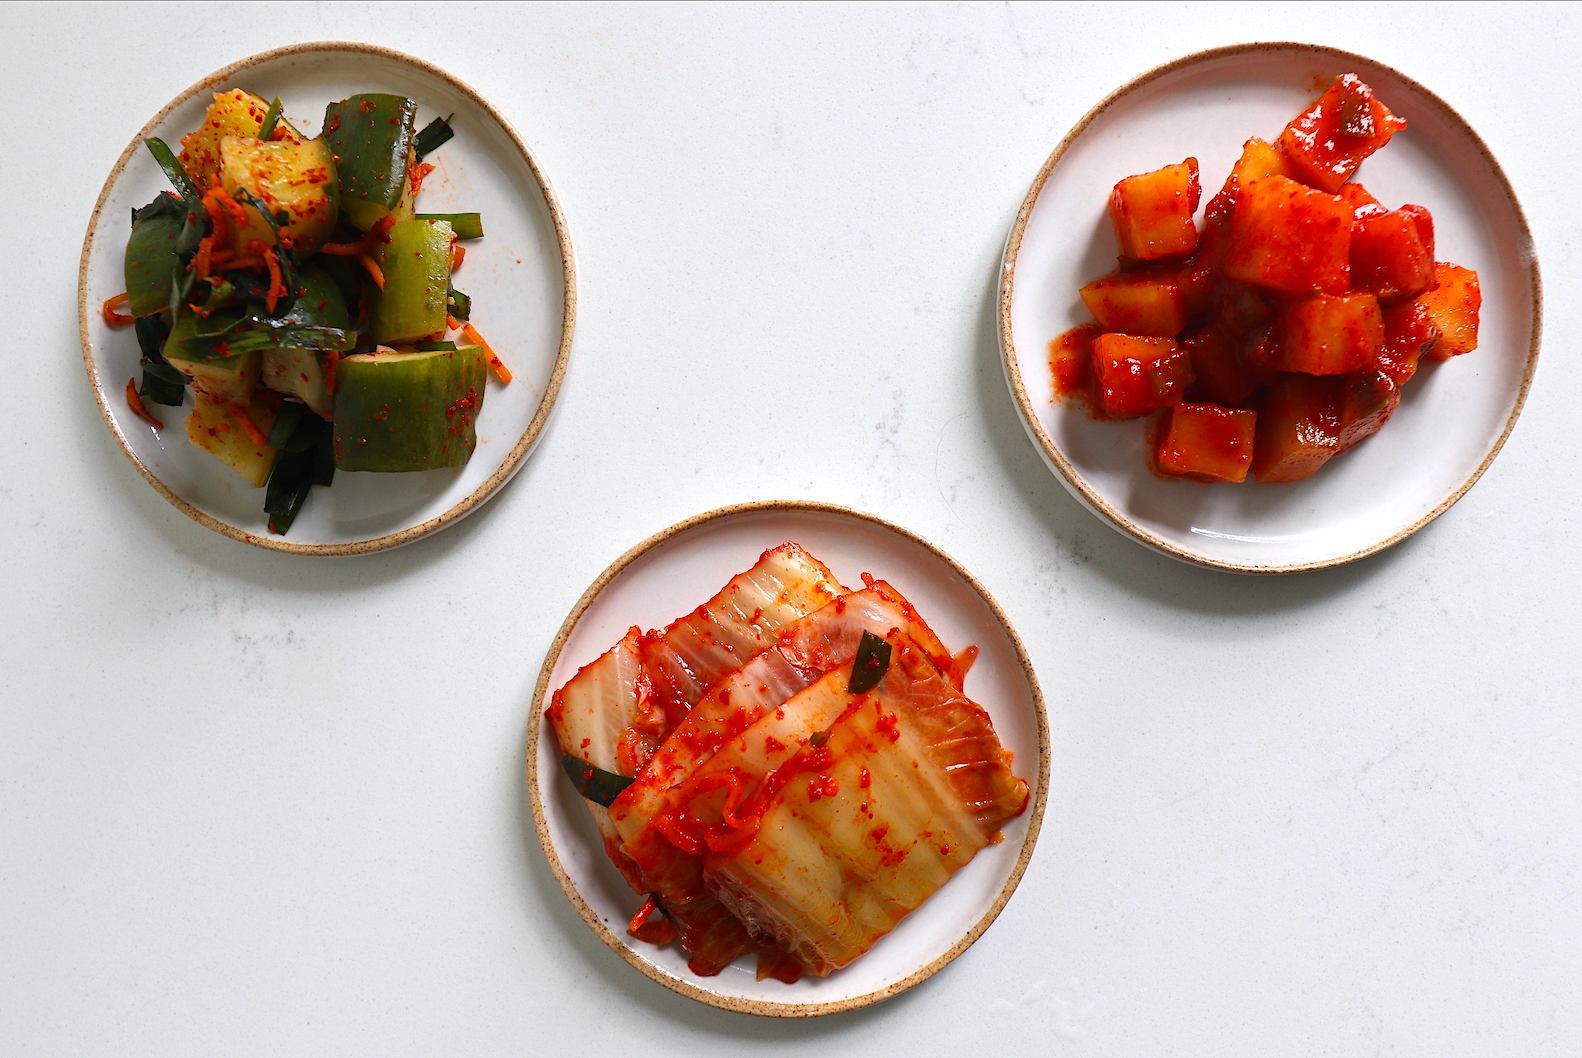
Fermenting is a process in which microorganisms, such as bacteria, yeasts, and molds, break down the sugars in food and create new texture, flavors, and gas. When you ferment something, you enhance its flavors, extend its shelf life, and even make certain nutrients more accessible and digestible. Some of my favorite things to ferment are hot sauce, kimchi, sourdough, sauerkraut and pickles. There are many kinds of fermentation like lactic acid, ethanol, and acetic acid.

Lactic acid is my favorite way to ferment and things like hot sauce, kimchi, sourdough, sauerkraut and pickles. Items like wine and beer are fermented through an ethanol fermentation process while vinegar is fermented through acetic acid! My most recent fermentation products were these lacto-fermented hot sauces.
- Dehydrating

Dehydrating is the process of removing water from food to make it last longer. When food is dried, it doesn't spoil as quickly because bacteria and mold need water to grow. Dehydrated food can be stored for a long time and still keep its taste and nutrients.
There are different ways to dehydrate food such as sun drying, oven drying, using a dehydrator or microwave, or even air drying in a well ventilated area. My favorite items to dehydrate have been grape tomatoes because they become so concentrated in flavor. With dehydrating you can also choose the dryness that you prefer! However, I have also been taking advantage of the summer's produce and have been dehydrating basil, onion, and garlic to stock up my seasoning drawer for the winter.

5 Ways To Preserve Summer
Ingredients:
Dehydrated Garlic and Onion Powder:
- 4 garlic heads
- 2 onions
Pickled Cucumbers aka Pickles:
- 1 pound of Persian cucumbers
- 1/2 cup of water
- 1 cup white vinegar
- 2 teaspoons of salt
- 2 cloves garlic (peeled and smashed)
- 1 teaspoon whole black peppercorns or Sichuan peppercorns
- A few sprigs of fresh dill
Triple Layered Fruit Pops:
- 1 pound of strawberries, washed & stems removed
- 1 pound of raspberries, washed
- 1-2 lemon
- Water
- 9 tablespoons of sugar, optional
Instructions:
Dehydrated Garlic and Onion Powder Instructions:
- Peel the garlic cloves and onions, and slice them into thin uniform pieces. This will help them dehydrate evenly.
- Place the sliced garlic on one dehydrating tray in a single layer making sure they don’t over lap too much. Then do the same with the onions. Use as many trays as need for the onion to make sure they don’t overlap.
- Set the dehydrator to 150 F and dry for 8 hours for the garlic and 12 hours for the onions. Depending on how thick you cut the garlic and onions you might have to adjust your time.
- The garlic and onions are done when they are completely dry and brittle to the touch. They should easily crumble between your fingers.
- Let dehydrated garlic and onions cool before blending. About 30 - 60 minutes.
- Transfer the dried garlic to a blender or spice grinder and pulse until they turn into a fine powder. Pour into an airtight jar or container and repeat with the dried onions.
- Store them in a cool, dry place away from direct sunlight.
Pickled Cucumbers aka Pickles Instructions:
- Wash the cucumbers and slice them into rounds, spears, or whatever your preferred shape is. You can also leave them whole as long as your jar is big enough.
- In a saucepan, combine the water, vinegar, salt, garlic cloves, and peppercorns. Bring the mixture to a gentle simmer to dissolve the salt. Remove from heat and let it cool slightly.
- In the clean mason jar, place in all your cucumbers and fresh dill. Carefully pour the slightly cooled pickling liquid into the jar, ensuring that all the cucumbers are covered.
- Seal the jar with its lid and let the pickles cool to room temperature before placing them in the refrigerator.
- Allow the pickles to marinate in the refrigerator for at least 24 hours before enjoying them. The longer they sit, the more flavor they'll absorb! Enjoy!
Triple Layered Fruit Pops Instructions:
- To a blender add in the cleaned strawberries along with 1/3 cup of water, 1 tablespoon of lemon juice, and 3 tablespoons of sugar. Blend until you have a smooth mixture. Optionally, pour the mixture over a sieve to get rid of any seeds.
- Get your popsicle mold and pour the strawberry layer about 1/3 of the way. Freeze for 30 minutes.
- Next, add 1/2 cup of water to a measuring cup along with the juice of 1 lemon and 3 tablespoons of sugar. (You may adjust the sweetness to your liking). Stir until the sugar dissolves.
- Once the 30 minutes are up and the strawberry layer is 1/2 way frozen, slowly pour the lemon layer another 1/3 of the way up. Place back into the freezer and freeze for another 30 minutes to set the lemon layer.
- Next, add in the cleaned raspberries along with 1/3 cup of water, 1 tablespoon of lemon juice, and 3 tablespoons of sugar. Blend until you have a smooth mixture. Optionally, pour the mixture over a sieve to get rid of any seeds.
- After the lemon layer has set (another 30 - 40 minutes have passed), gently pour the raspberry layer all the way to the fill line. Take your popsicle stick and pierce through all the layer to seal the molds.
- Freeze for 4 - 6 hours or until completely frozen.
- In order to pop the popsicles out, run them under warm water so they can release from the mold. Enjoy!
TOP ARTICLES

By Alex C
Senior Food Writer at Pro Home Cooks
Published